Building a custom-made wooden vanity for your bathroom can give it character and functionality. A DIY project not only allows you to create what you would want in design but also cuts costs while lending a personalized touch to the bathroom. Whether you are doing this project for the first or hundredth time, this article will take you through steps on how one can make a wooden vanity for his sink.
For those who prefer ready-made options, websites like wellfor.com offer a variety of stylish wooden vanity solutions to fit any bathroom design.
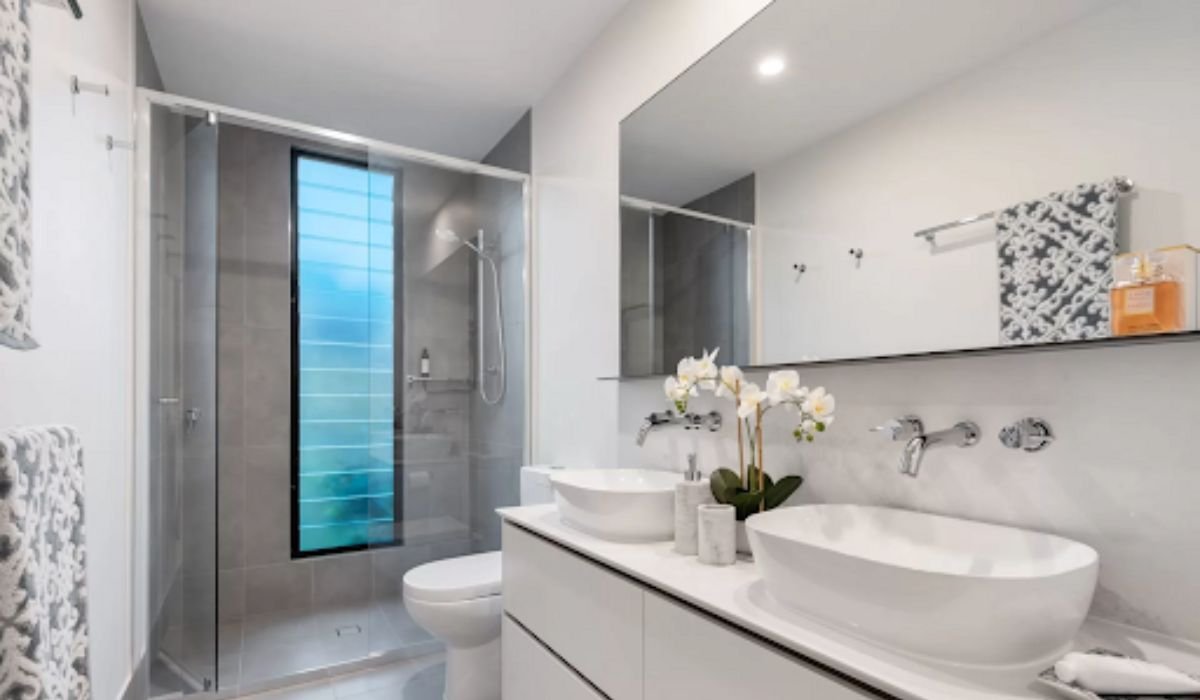
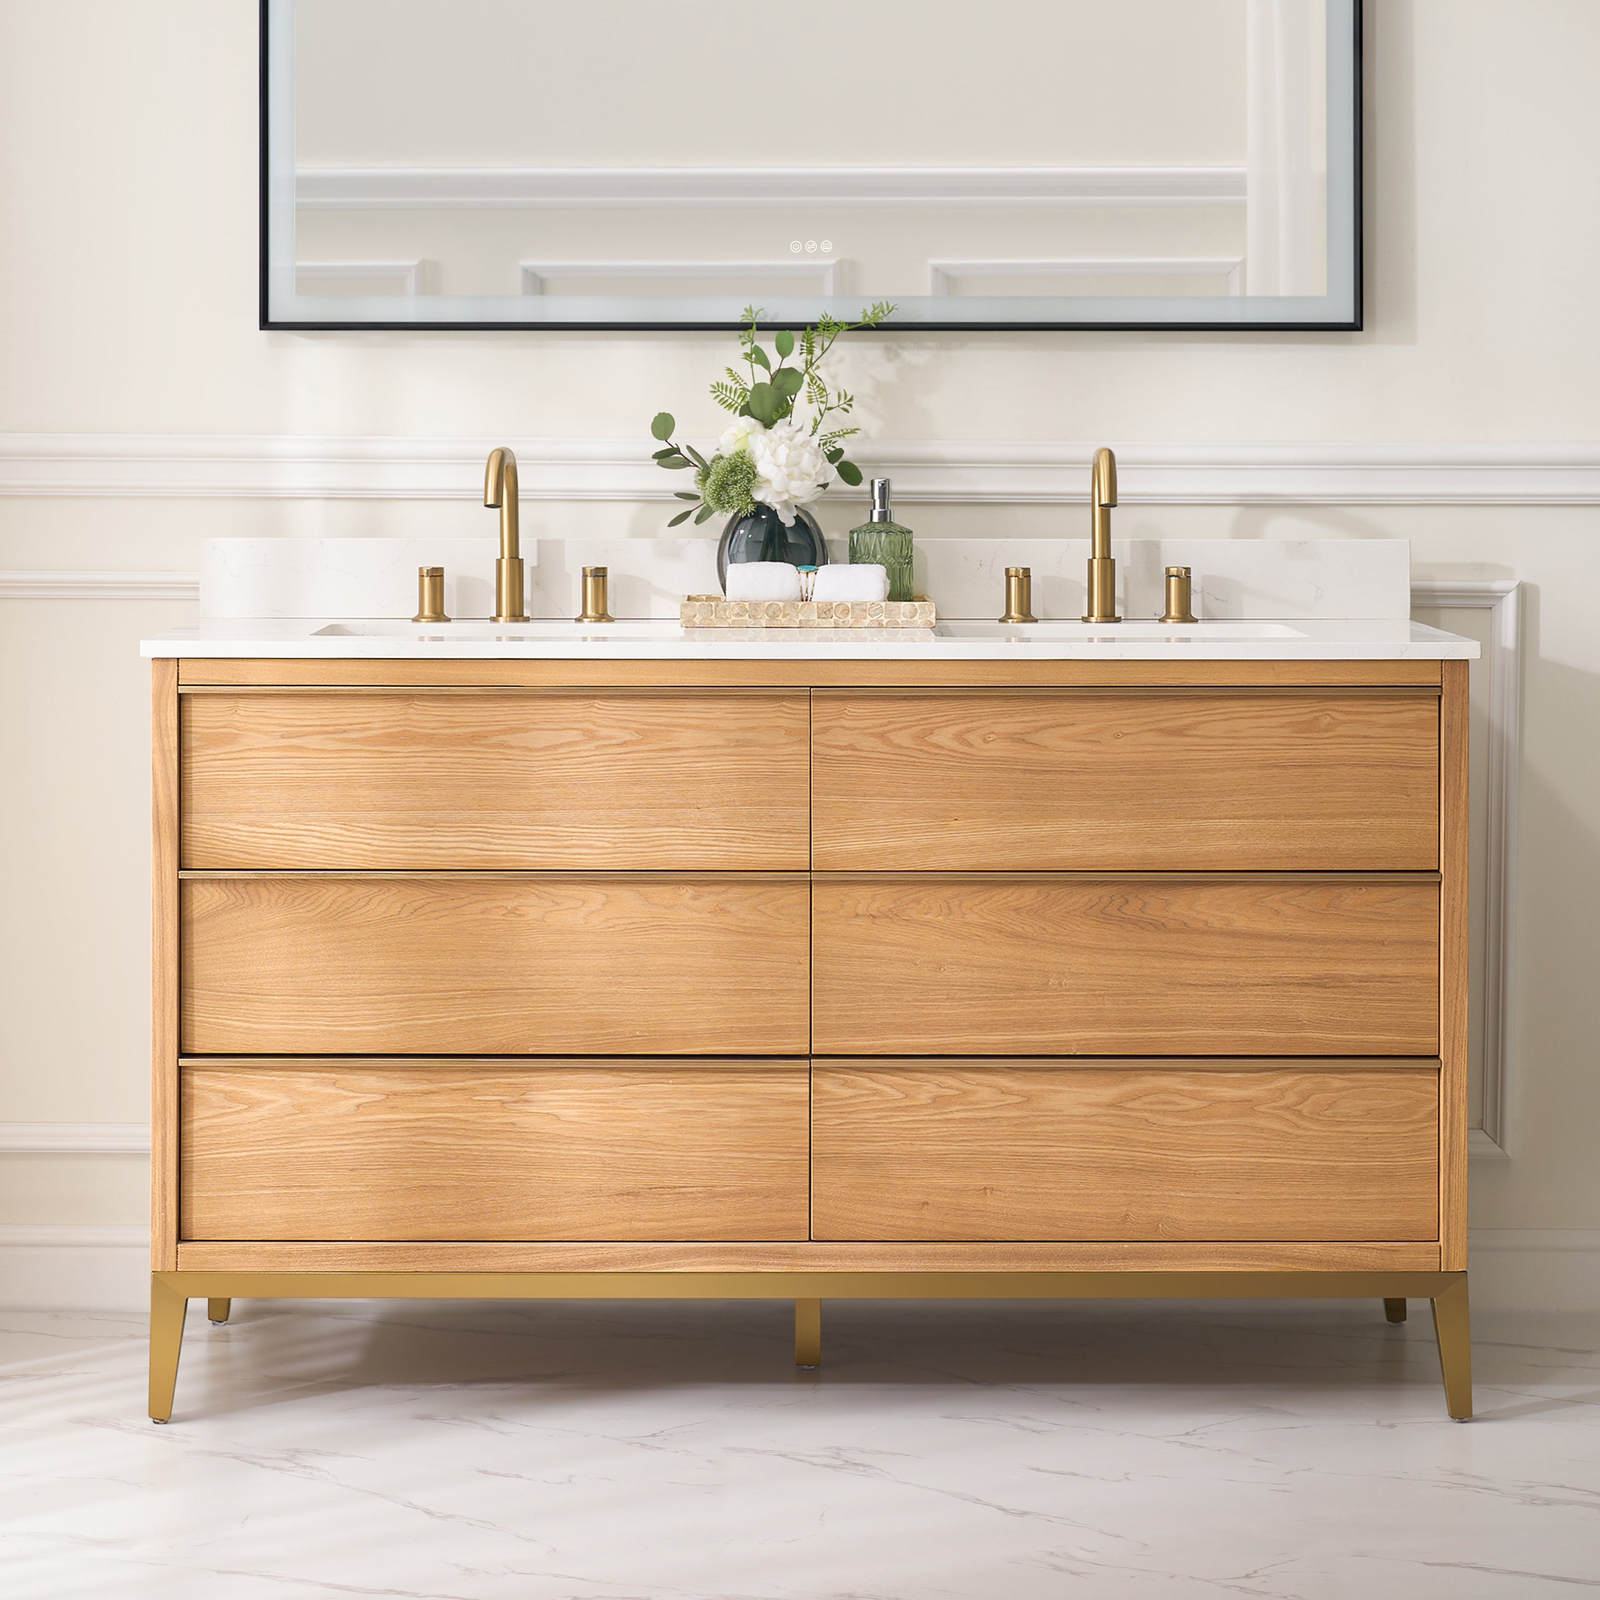
Why Choose a Wooden Vanity?
Wooden vanities can be a classic choice for bathrooms, blending strength, warmth, and versatility. They will adapt to modern, rustic, or traditional tastes, which is why so many homeowners choose them.
Benefits of Wooden Vanities
- Natural Aesthetic: Adds warmth and texture to the bathroom.
- Durability: High-quality wood can withstand bathroom conditions when treated properly.
- Customization: You can create unique designs tailored to your space.
Tools and Materials You’ll Need
Tools
- Measuring tape
- Circular saw or jigsaw
- Power drill and screwdriver
- Wood clamps
- Sandpaper (medium and fine grit)
- Paintbrush or roller
Materials
- Wood panels (plywood or hardwood)
- Wood glue
- Screws
- Stain or paint (optional)
- Sink and faucet
- Countertop material (e.g., marble, quartz, or butcher block)
- Cabinet hardware (handles, knobs, or pulls)
READ ALSO: Your Guide To Understanding Three Types of Window Installations!
Step-by-Step Guide to Building a Wooden Vanity
Step 1: Plan Your Vanity Design
Start by deciding on the size and style of your vanity. Consider the available space in your bathroom and the type of sink you’ll use (e.g., vessel, drop-in, or undermount).
- Standard Dimensions: A typical vanity is about 32–36 inches tall and 20–24 inches deep. Adjust these dimensions based on your needs.
- Sketch the Design: Include compartments for storage, open shelving, or drawers, depending on your requirements.
Pro Tip: Browse wellfor.com for inspiration and to compare designs before finalizing your plan.
Step 2: Measure and Cut the Wood
- Measure the dimensions for the base, sides, back, and top panels of the vanity.
- Use a circular saw or jigsaw to cut the wood panels accurately.
Step 3: Assemble the Frame
- Attach the side panels to the base panel using wood glue and screws.
- Secure the back panel to provide structural stability.
- Add horizontal support beams for additional reinforcement and to hold the countertop.
Step 4: Add Storage Features
Depending on your design, you can:
- Install shelves for open storage.
- Add drawers using slides for smooth operation.
- Leave open spaces to accommodate plumbing fixtures.
Step 5: Sand and Finish the Wood
- Sand all surfaces to remove rough edges and splinters.
- Apply a wood stain or paint to enhance the appearance and protect the wood from moisture.
Pro Tip: Choose a finish that complements your bathroom decor. For a rustic look, opt for a natural stain. For a modern vibe, go with white or black paint.
Step 6: Install the Countertop and Sink
- Cut a hole in the countertop to fit the sink, following the manufacturer’s instructions.
- Attach the countertop to the vanity frame using screws or adhesive.
- Install the sink and faucet, ensuring proper alignment with the plumbing.
Step 7: Attach Hardware
- Add knobs, handles, or pulls to drawers and cabinet doors for easy access.
- Choose hardware that complements the overall style of the vanity.
Step 8: Secure the Vanity in Place
- Position the vanity in your bathroom and anchor it to the wall for stability.
- Connect the plumbing fixtures, ensuring there are no leaks.
Tips for Building a Durable Wooden Vanity
- Choose the Right Wood: Hardwoods like oak, walnut, or maple are durable and moisture-resistant, making them ideal for bathrooms.
- Use Moisture-Resistant Finishes: Protect your vanity by sealing it with waterproof varnish or polyurethane.
- Work in a Well-Ventilated Area: Especially when using paints or adhesives.
- Measure Twice, Cut Once: Double-check measurements to avoid errors.
Where to Find High-Quality Wooden Vanities

If building a vanity from scratch isn’t your preference, check out wellfor.com for a range of pre-made wooden vanity options. Their collection includes vanities in various styles, sizes, and finishes, designed to fit any bathroom aesthetic.
Why Choose Wellfor.com?
- Diverse Selection: From rustic to modern designs, there’s something for everyone.
- Durability: Made from high-quality materials built to last.
- Convenience: Easy online shopping and fast delivery.
Final Thoughts
The wooden sink vanity is a very rewarding woodworking project that requires a mix of functionality and creativity. Once you have the right tools, the correct materials, and a very clear plan, the best custom wood vanity to fit your bathroom is possible to create.
If you prefer ready-to-assemble or ready-to-install options, wellfor.com offers an immense variety of stylish and durable vanities to make your bathroom renovation process easier. Be it a DIY project or going with a pre-made solution, a good vanity can add elegance to your bathroom and value to your house.
YOU MAY ALSO LIKE: The Best Wood for Cutting Boards: Your Ultimate Guide to Culinary Craftsmanship