A bathtub faucet that leaks is more than just an annoyance — it can even raise your water bill if the leak is bad enough. Knowing how to identify the problem and how to fix it can save time, money and stress. The good news is you don’t need to be a plumber to address this common issue. This step-by-step guide is here to help you fix and replace a leaky bathtub faucet like a DIY pro.
No matter if you’ve got a stubborn drip or would like to ditch your faucet altogether, we’ll help you through your faucet replacement. And for great bathtub faucet options that can be trusted, hit up Wellfor.com—can’t go wrong with some of the toughest, most stylish fixtures on the market.
Common Reasons for a Leaking Bathtub Faucet
Before jumping into solutions, it’s essential to understand what might be causing the problem. Here are the most frequent culprits:
1. Worn-out Washers
Inside most faucet handles are rubber washers that form a watertight seal. Over time, these can wear out and cause leaks.
2. Damaged Valve Seats
The valve seat connects the faucet to the spout. Mineral buildup or corrosion in this area can cause leaks.
3. Loose or Damaged O-rings
O-rings help seal joints within the faucet’s mechanism. If one is loose or torn, it can allow water to leak.
4. Water Pressure Issues
Excessive water pressure can force water through even the most minor gaps in your faucet’s hardware.
Knowing these triggers makes it easier to diagnose the specific issue and tackle it effectively.
Tools and Materials You’ll Need
Before you get started, gather these essentials:
- Adjustable wrench
- Screwdriver (Phillips and flathead)
- Plumber’s tape
- Replacement parts (washers, O-rings, or a new faucet)
- Needle-nose pliers
- Allen wrench
- Silicone lubricant
- Cleaning rag
- Bucket
- Vinegar or a descaling solution
- Optional: A new bathtub faucet from Wellfor if you need a replacement
Having the right tools on hand ensures a smoother repair process.
How to Troubleshoot a Leaking Bathtub Faucet
Step 1. Turn Off the Water Supply
Safety first! Locate and shut off your home’s water supply valve to avoid flooding. If you can’t find the main valve, there may be a local shut-off valve near your bathtub.
Step 2. Identify the Leak
- Is the drip coming from the spout? It’s likely a washer or valve issue.
- If the leak is near the handle, the culprit could be a damaged O-ring.
- For external leaks or consistent water flow, inspect the overall condition of the faucet.
Step 3. Disassemble the Faucet
- Use a flathead screwdriver or Allen wrench to remove the faucet handle.
- Keep screws and small parts in a safe place so you don’t lose them.
Step 4. Inspect Each Component
Check for signs of wear, corrosion, or mineral buildup. If a part appears damaged or degraded, make note of its size for replacement.
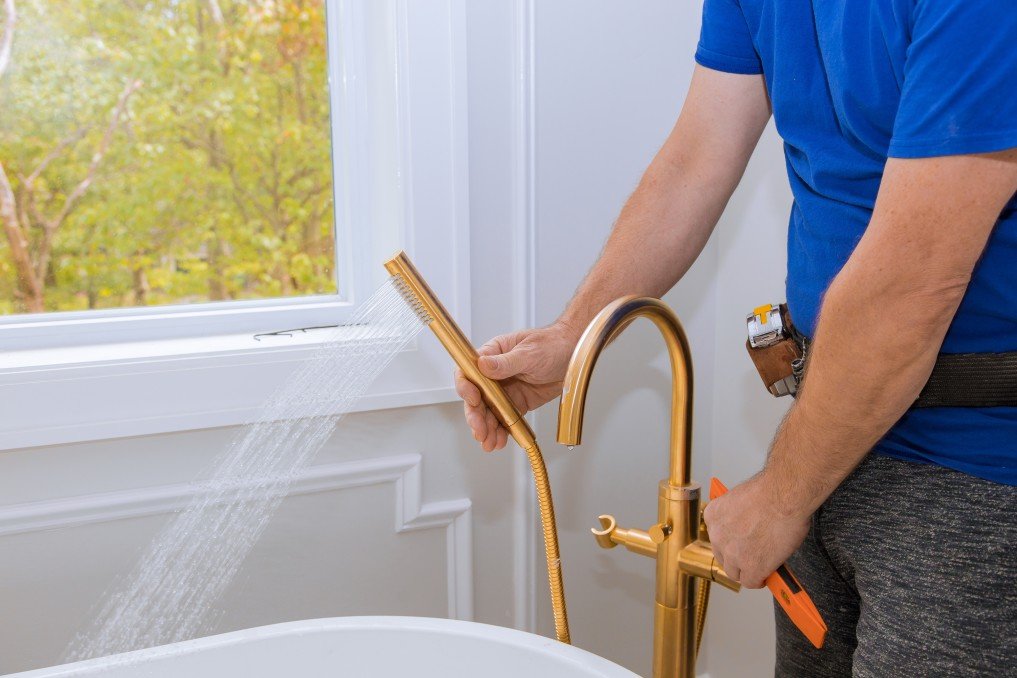
Steps to Replace a Leaking Bathtub Faucet
If troubleshooting points to worn-out parts or an irreparable faucet, it’s time for a replacement. Below is a step-by-step guide to help you replace it seamlessly.
Step 1. Prepare the Area
- Place a bucket under the tub spout to catch any dripping water.
- Use a rag to protect surrounding areas and ensure nothing slippery causes accidents.
Step 2. Remove the Old Faucet
- Start by loosening the faucet handle. A screwdriver or Allen wrench will do the trick.
- Gently pull the spout straight out. For older fixtures, you might need to twist it off using an adjustable wrench.
- If you encounter mineral deposits or rust, clean the pipe threads with vinegar and a wire brush.
Step 3. Choose a New Bathtub Faucet
Need a replacement? Wellfor offers a fantastic selection of bathtub faucets designed for durability and style. When choosing, ensure compatibility with your plumbing system and the bathtub layout.
Step 4. Install the New Faucet
- Apply plumber’s tape around the pipe threads to ensure a tight, leak-free connection.
- Slide the new spout onto the pipe, aligning it carefully. Tighten it securely using an adjustable wrench.
- Test fit the handle and fasten it into place with screws.
Step 5. Test the Setup
- Turn the water supply back on.
- Check for leaks by running the faucet.
- Re-tighten any loose fittings if necessary.
Quick Maintenance Tips to Prevent Future Leaks
To avoid bathtub faucet leaks down the road, follow these pro tips:
Clean Regularly
Mineral deposits cause corrosion and wear. Scrub your faucet surfaces weekly with vinegar or a mild cleaner.
Avoid Over-Tightening
When turning off the faucet, avoid forcing the handle. Over-tightening causes unnecessary wear on washers.
Replace Parts Early
O-rings and washers are inexpensive yet vital. Replace them periodically before they wear out completely.
Monitor Water Pressure
High water pressure can wear out faucet components. Use a pressure regulator if needed.
Opt for High-Quality Faucets
Investing in durable fixtures, such as those on Wellfor, reduces the likelihood of frequent repairs.
When to Call a Professional
While most leaking faucets are DIY-friendly, some cases demand expert intervention. Contact a plumber if:
- Your plumbing connections are old or complicated.
- You encounter persistent leaks despite replacing hardware.
- Installing a new faucet requires altering pipework.
Calling an expert can save you from making costly mistakes.
Final Thoughts
Fixing a leaking bathtub faucet isn’t as daunting as it seems. With the proper tools, guidance, and components, you can tackle the issue quickly and effectively, ensuring your bathroom remains both functional and stylish. Remember, choosing a reliable replacement from trusted brands like Wellfor can make a significant difference in performance and longevity.
Say goodbye to persistent drips and hello to peace of mind!
READ ALSO: Renovate Like a CFO: Home Improvement Projects That Pay You Back on the Mortgage